Recording High-Quality Choir Performances at Home
Recording high-quality choir performances at home can be both a fun and rewarding experience. With the right tools, techniques, and mindset, you can create a professional-sounding recording that rivals those done in large studios. Home recordings offer flexibility and convenience, making it easier for choirs to showcase their talents without the need for expensive equipment or an external venue. Whether you’re a choir director, a soloist, or a choir member looking to record your performance, you can achieve excellent results by focusing on key elements such as proper preparation, quality equipment, and thoughtful recording techniques. By following the steps in this guide, you can easily record high-quality choir performances that capture the full beauty of your ensemble.
Preparing for Recording High-Quality Choir Performances

Proper preparation is the cornerstone of recording high-quality choir performances. Without a solid plan, the recording process can become overwhelming and chaotic. First, make sure that all choir members are familiar with the piece to be recorded. A well-rehearsed choir will sound more cohesive, and this translates directly into the quality of the final recording.
Start by organizing a rehearsal schedule, ensuring that everyone has adequate time to practice. Make the most of each rehearsal by focusing on nuances such as timing, dynamics, and articulation. Doing so will help create a smoother and more polished performance when it’s time to record. Also, consider whether the choir should record the entire piece in one take or in sections. This decision largely depends on the complexity of the piece and the size of the choir. If the piece is long or challenging, recording it in smaller sections will make the process easier and more manageable.
Additionally, it’s essential to set realistic goals for the recording session. Define your expectations in advance so that all choir members understand the desired outcome. Whether it’s capturing a live performance feel or focusing on individual parts, setting clear objectives ensures everyone is on the same page. Once the choir feels confident with the piece and the goals are set, you’ll be ready to move forward with the technical aspects of recording.
Essential Equipment for Recording High-Quality Choir Performances

The right equipment is crucial when recording high-quality choir performances. While a professional studio may have access to advanced tools, you can still achieve excellent results with the right home setup. With careful equipment selection, you can capture the choir’s full vocal range and create a balanced, clear recording.
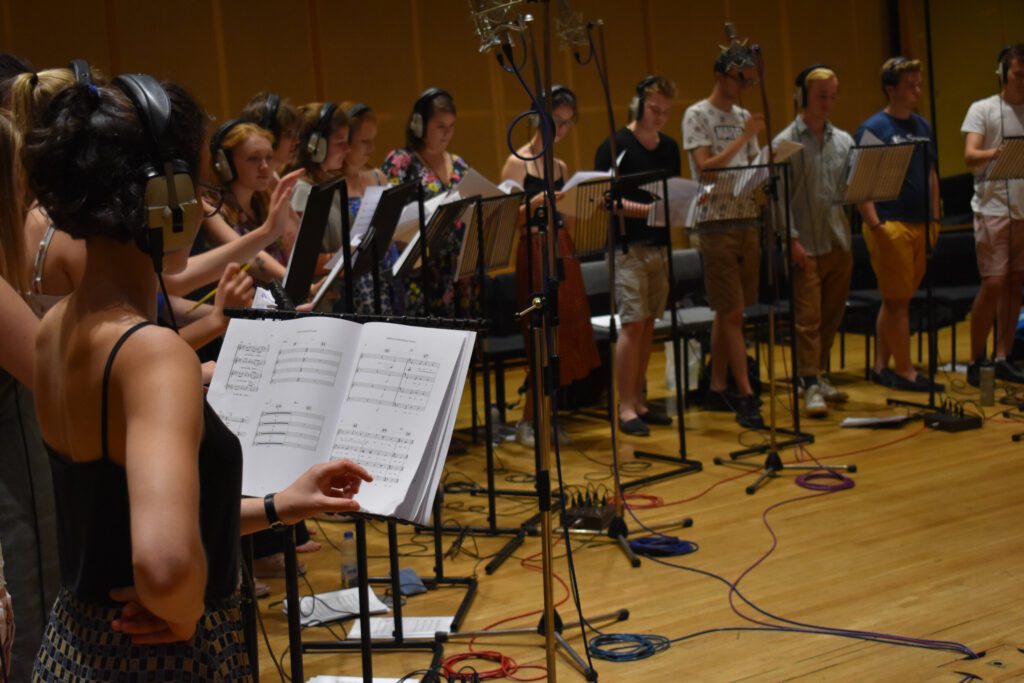
Start with microphones, as these are the most important tools for capturing sound. For choirs, a condenser microphone is often the best choice due to its wide frequency response and ability to capture detailed sounds. Depending on your recording space and choir size, you may need several microphones to capture different parts of the choir. For smaller groups, a single high-quality microphone can suffice, but for larger choirs, you may need to use multiple microphones placed strategically to ensure an even sound distribution.
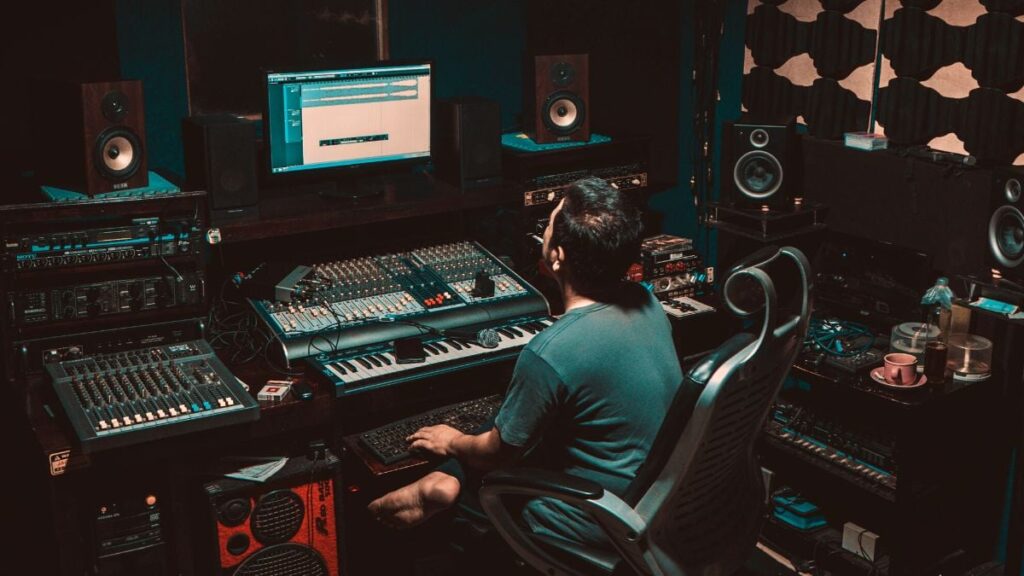
Next, consider your audio interface. This device connects the microphones to your computer and ensures that the recorded sound is free of distortion and noise. A reliable audio interface will preserve the sound quality, ensuring that every note from each choir member is captured accurately. If you’re recording with multiple microphones, an audio interface with multiple input channels is essential.
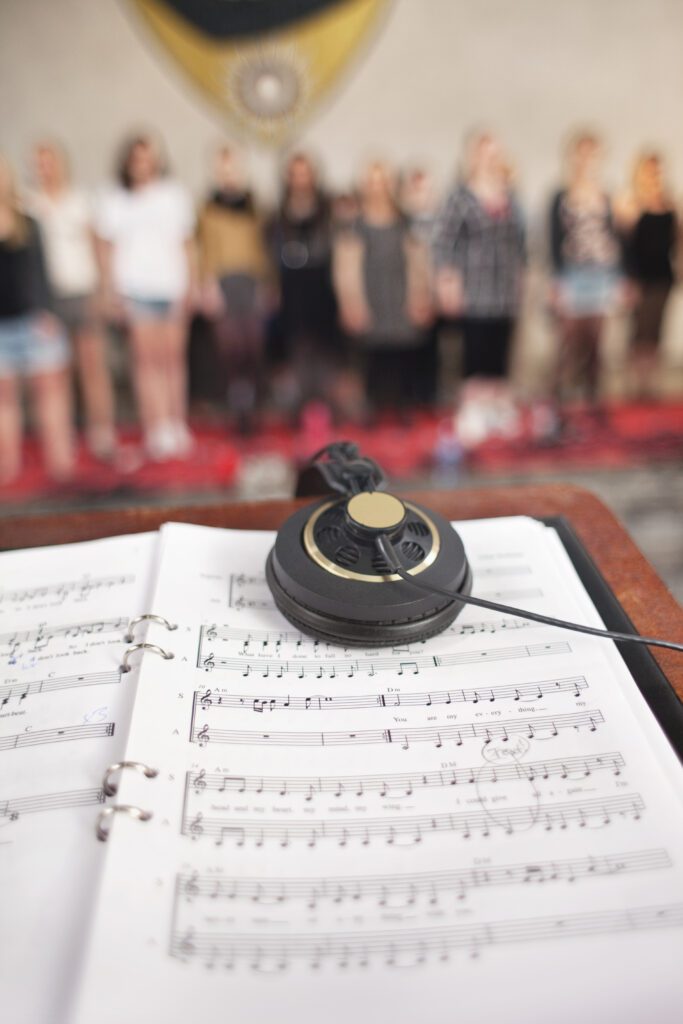
In addition to microphones and interfaces, high-quality headphones are a must-have. Use closed-back headphones during the recording process to prevent sound leakage and maintain clarity. This will ensure that choir members can hear themselves without affecting the recording. Monitoring the sound in real time helps everyone stay in sync, which is especially important for large choirs. Consider using reference monitors or external speakers when it’s time to review the recording, as they offer better sound quality than typical computer speakers.
By ensuring that you have the right equipment in place, you can focus on delivering a great performance, knowing that your technical setup is optimized for high-quality results.
Setting Up the Recording Space for High-Quality Choir Performances

Creating the right environment is essential for recording high-quality choir performances at home. The acoustics of your recording space have a significant impact on the overall sound, so careful consideration is key. To start, choose a space that offers minimal background noise and external disruptions. A room with thick curtains or carpets will help absorb unwanted sounds, creating a quieter, more controlled environment.
Additionally, consider the room’s natural acoustics. A room with hard surfaces like tile or wood can cause sound reflections, leading to muddiness in the recording. If your space has such surfaces, use blankets or acoustic panels to help absorb sound and reduce echo. This will ensure that the recording maintains clarity and precision. You can also use pillows or foam to further dampen sound and create an ideal recording atmosphere.
Another important factor is room size. If possible, choose a medium to large room with enough space for the choir to stand in formation. A cramped room can cause sound distortion, while too much space may lead to a hollow sound. Ensure that the choir members are not too close to each other to avoid excessive overlap of voices. In larger spaces, it is often beneficial to use multiple microphones to capture different sections of the choir for a balanced mix. By paying attention to these details, you can optimize your recording space and create a better-sounding result.
Recording High-Quality Choir Performances: Techniques and Tips

When recording high-quality choir performances, it’s crucial to employ the right techniques to capture the best sound possible. Start by positioning the microphones correctly to ensure that all voices are heard clearly and distinctly. In general, place the microphones at a reasonable distance from the choir, ensuring that they are not too close, as this could lead to distortion. A good rule of thumb is to place microphones about 3-5 feet away from the choir to capture a natural sound.
Next, adjust the recording levels to prevent clipping. Set the levels to a moderate range so that the volume doesn’t peak, as this will cause distortion. It’s always better to record at lower levels and adjust later, rather than risk clipping during the session. Regularly monitor the levels during the recording session to ensure that they stay consistent.
Another essential technique is to record in sections, especially for larger choirs or complex pieces. This allows you to focus on smaller groups and ensures that each section is captured clearly. After recording individual sections, you can later blend them together to create a cohesive performance. Also, consider recording a few takes of each section to give yourself options during editing. This ensures that you have a backup take in case one recording doesn’t meet expectations.
Finally, keep the tempo and dynamics in mind. Make sure the choir stays consistent with their timing and volume throughout the recording. Having a metronome or conductor’s cues can help the choir stay on track. Additionally, varying the dynamics—such as soft and loud passages—adds emotion and depth to the recording. By applying these techniques, you can record high-quality choir performances that sound polished and professional.
Mixing and Editing High-Quality Choir Performances

Once the choir’s performance has been recorded, the next step is mixing and editing the tracks to achieve a polished and cohesive sound. Mixing involves balancing different elements of the performance, such as adjusting the levels, panning, and adding effects. Start by adjusting the volume levels for each track to ensure that all parts of the choir are audible. Pay attention to the blend of voices, ensuring that no one section dominates the others.
Panning
It is another key technique in mixing. By panning the different choir sections slightly to the left or right, you can create a more immersive and realistic listening experience. For example, you can pan the soprano voices more toward the left and the bass voices toward the right. This spatial arrangement allows listeners to easily distinguish different sections and contributes to a more dynamic sound.
equalization
Next, apply equalization (EQ) to enhance the clarity of the recording. Use EQ to reduce unwanted frequencies or boost specific ranges, such as the mids for vocal clarity. For example, boosting the higher frequencies can help bring out the brightness of the vocals, while cutting low frequencies will eliminate muddiness. Make sure not to overdo it with EQ, as too much alteration can make the recording sound unnatural.
In addition to EQ, you can also add reverb to give the choir’s performance a more spacious, live feel. However, be careful not to apply too much reverb, as this can create an echo that makes the recording sound distant. Use subtle reverb to enhance the natural acoustics without overwhelming the choir’s voices. Once the EQ, panning, and reverb are set, listen to the recording several times and make further adjustments as needed.
Finally, take time to edit the track, removing any unwanted noise or mistakes. If a certain section of the choir made an error, you can isolate that segment and redo it. Once all edits are complete, listen to the full mix and ensure everything sounds cohesive. By carefully mixing and editing your choir performance, you can transform a simple recording into a high-quality, professional-sounding piece.
Ensuring High-Quality Sound During the Recording Process

Maintaining high-quality sound throughout the recording process is essential for achieving the best possible choir performance. To start, keep your microphone placement in mind. Adjusting the distance from the choir can drastically affect the quality of the recording. Positioning the microphones too close may result in distortion, while too far will weaken the overall sound. Aim for a balance—microphones should be placed at an appropriate distance to capture clarity without causing any muddiness.
In addition to mic placement, ensure that the choir members follow best vocal practices during the recording. Encourage them to project their voices without overstraining, which can cause distortion. For larger choirs, ensure the sections are balanced by encouraging each group to maintain a consistent dynamic level. It’s also crucial to guide the choir on staying in tune and timing, as subtle differences in pitch can disrupt the overall harmony.
You should also monitor the recording levels regularly throughout the session. Keep track of the levels to prevent them from peaking and clipping. Setting levels too high can lead to distortion, making the recording less pleasant to listen to. If you notice any issues during the recording, stop and adjust before continuing. Consistently checking and maintaining levels ensures a clearer, more professional sound. By ensuring proper sound monitoring and choir discipline during the recording, you’ll significantly improve the quality of your recording.
Working with Multiple Takes and Overdubbing for Perfection

To ensure your choir performance is flawless, consider recording multiple takes and using overdubbing for perfection. Recording in sections or multiple takes allows you to focus on different parts of the piece without compromising the overall flow. If certain sections or individuals struggle with particular parts, recording several takes gives you more options to choose from. Don’t hesitate to pause, re-record, and try different variations to capture the best performance.
After completing the initial recordings, you can use overdubbing to layer the vocals and achieve a fuller, richer sound. Overdubbing allows you to record additional layers of vocals for each section, effectively creating a denser sound. For instance, if the choir’s soprano section sounds thin, overdubbing can add more depth by layering the same vocals. However, be careful not to overdo it. Too many overdubs can result in an artificial-sounding choir that lacks cohesion.
In addition to enhancing the sound, overdubbing allows for greater flexibility in adjusting the timing and pitch of individual voices. If one section doesn’t quite match the others, you can fix timing discrepancies by overdubbing a better-synced part. This also gives you the opportunity to correct minor pitch issues that may have occurred during the initial take. Overall, working with multiple takes and overdubbing helps refine the performance and ensures that every note is spot-on, creating a polished, professional recording.
Finalizing and Exporting the High-Quality Choir Performance

Once you’ve completed the recording and editing process, it’s time to finalize and export the choir performance. Begin by listening to the entire track, making sure the overall sound is balanced and cohesive. Pay close attention to the dynamics, ensuring no section is overpowering the others. This step is critical to ensure that the choir’s sound is even and well blended.
During the final mixing phase, double-check the equalization and reverb settings. It’s important to avoid overusing effects, as this can muddy the clarity of the voices. Subtle adjustments will maintain the natural quality of the performance while still enhancing the overall sound. If you’ve used overdubs or recorded in sections, listen to the track from start to finish to ensure the transitions between different parts are smooth.
Once satisfied with the mix, the next step is exporting the file. Make sure to choose the right format for your intended use, whether it’s for online sharing, CD production, or professional distribution. Common formats include WAV for uncompressed sound quality or MP3 for a more compact file size. Export the track in the highest quality available to preserve the integrity of the choir’s performance.
After exporting, consider reviewing the track on various devices, such as headphones, speakers, and car audio systems, to ensure consistency across different listening environments. This helps you catch any potential flaws that might have been overlooked during the editing phase. Once the track is finalized and you’re happy with the result, you can confidently share your high-quality choir performance with others, knowing that the sound is crisp, balanced, and professionally produced.
Final Thought: Share Your High-Quality Choir Performance with the World

After carefully recording, editing, and finalizing your choir performance, it’s time to share your work with the world. Whether you’re showcasing your choir’s talent online or sending the track to a music competition, sharing your performance is the final step. By following these steps, you will have created a professional-sounding choir recording that highlights the hard work and dedication of your performers.
If you want to explore more about music education, public speaking, and much more, visit The Mystic Keys. Additionally, you can join our community on social media platforms like Facebook, Instagram, YouTube, LinkedIn, Twitter, Pinterest, Reddit, Threads, and Quora for exciting content and updates. Don’t forget to check out our Christmas Choir Competition 2024 for more inspiration and opportunities.
For more resources about music education, public speaking, and much more, visit The Mystic Keys. You can also follow us on our social media platforms for exciting content and updates: Facebook, Instagram, YouTube, LinkedIn, Twitter, Pinterest, Reddit, Threads, and Quora for exciting content and updates.
Remember, the key to a high-quality choir performance is careful preparation, effective technique, and a keen ear for detail. By taking the time to perfect each step—from setting up the recording space to the final edits—you’ll ensure your choir’s performance shines.
Good luck, and enjoy the process of sharing your choir’s music with the world!


