Guide to Recording High-Quality Choir Performances at Home
In recent years, home recording has become an increasingly popular choice for choirs looking to create high-quality recordings. Whether you’re preparing a virtual performance for an online concert, submitting an audition tape, or simply documenting your choir’s work, the process of recording choir performances at home can be both rewarding and challenging. This guide will take you through the steps needed to successfully record your choir, from preparing your space and selecting the right equipment to ensuring a polished final product through editing and mixing.

Preparing Your Recording Space | The Foundation of Good Sound
1. Evaluating the Room’s Acoustics
When recording choir performances, the room’s acoustics play a crucial role in how the final sound will be captured. Ideally, the space should have a mix of reflective and absorptive surfaces to avoid harsh sound reflections. To ensure a clean, balanced recording, try to choose a room that isn’t overly reverberant.
DIY Soundproofing Tips:
- Rugs and Carpets: These will help reduce sound reflections from hard floors, creating a more controlled environment for recording choir performances.
- Blankets and Curtains: Thick blankets and curtains can be hung on walls and over windows to absorb excess sound.
- Bookshelves and Furniture: Strategically placing bookshelves or furniture will help scatter sound waves and prevent harsh echoes.

2. Positioning the Choir for Balanced Sound
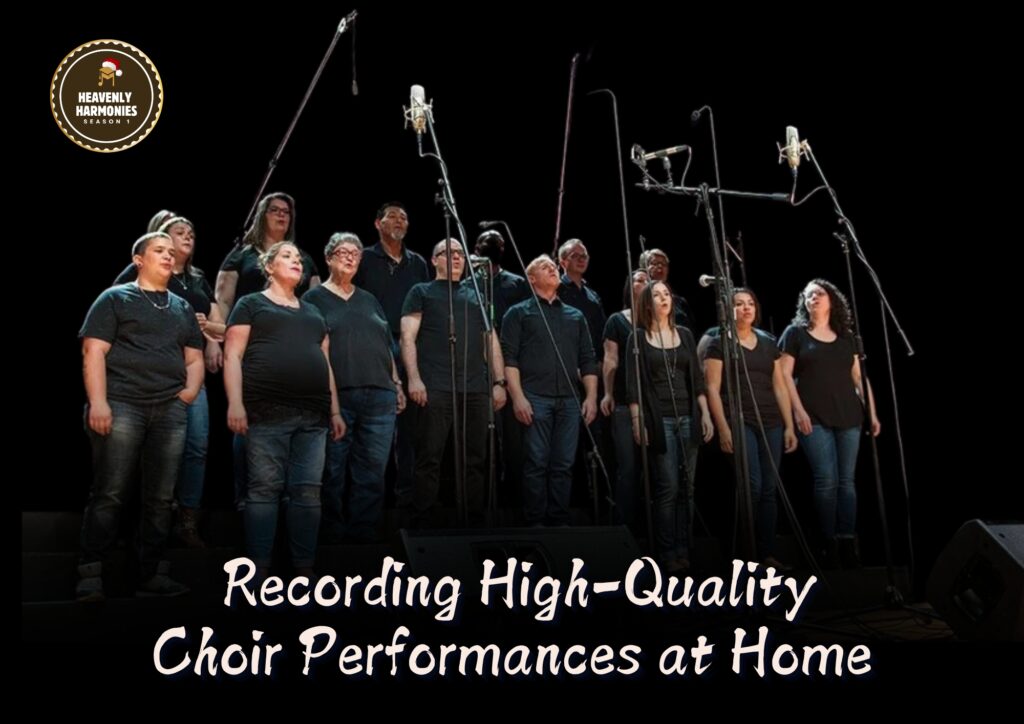
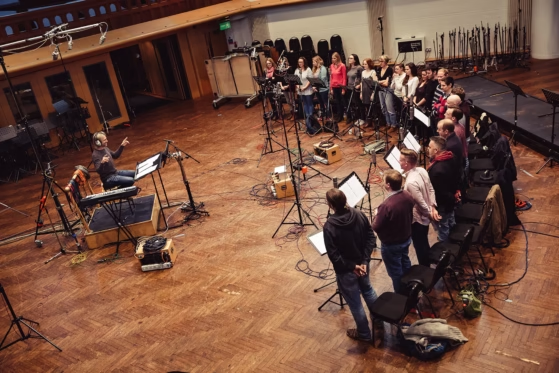
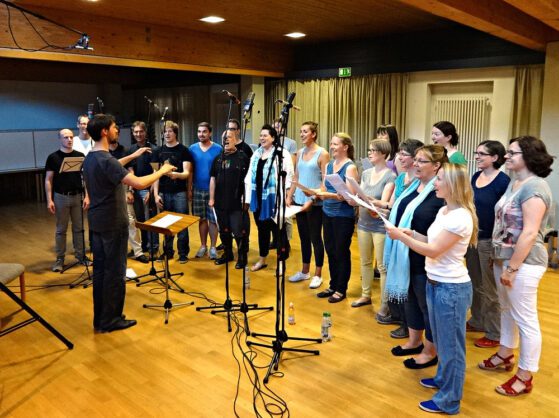
Once you’ve chosen your space, the next step is positioning your choir for the best possible recording. One effective arrangement is the semi-circle setup, where singers are spaced in a way that allows microphones to capture a balanced mix of voices.
If you’re recording multiple sections, group the sopranos, altos, tenors, and basses together but ensure there’s enough distance between them to maintain separation in the mix. Additionally, don’t forget to place your conductor in a visible position so that all singers can stay coordinated.
Essential Equipment | What You Need for a High-Quality Choir Recording
1. Choosing the Right Microphones
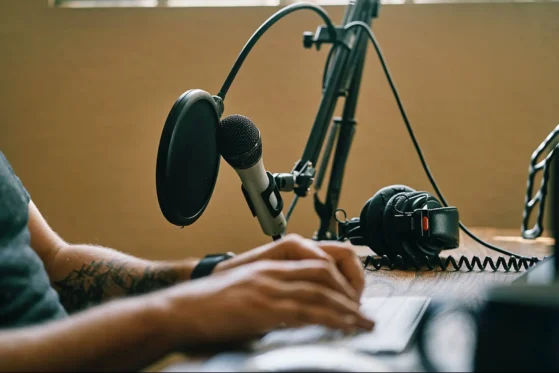
When it comes to recording choir performances, selecting the right microphones is essential for capturing the full spectrum of sound. There are several types of microphones to consider, each with specific advantages for different situations:
- Large-Diaphragm Condenser Microphones: These are excellent for capturing the broad sound of a choir. When positioned at the right distance, they can provide a warm, detailed recording.
- Small-Diaphragm Condenser Microphones: These microphones offer more precise sound capture, ideal for highlighting soloists or specific vocal sections.
- Stereo Pair Microphones: To achieve a wider, more immersive sound, consider using a stereo pair of microphones in an X/Y or ORTF configuration. This setup is particularly useful when recording choir performances in a large room.

2. Supporting Gear | Audio Interfaces and Mixers
In addition to your microphones, you’ll need a quality audio interface to convert your analog sound into digital audio. Choose an interface that can accommodate multiple microphones and provides low-latency monitoring for the best results. Well-known brands like Focusrite Scarlett and Behringer offer reliable options for both beginners and professionals.
For more advanced setups, a mixing board can help you adjust levels and EQ in real-time. This is particularly useful if you’re using multiple microphones to capture different sections of the choir.
3. Monitoring Equipment | Headphones and Studio Monitors
To ensure everything sounds as it should, invest in a pair of closed-back headphones for real-time monitoring during the recording. Additionally, studio monitors will give you an accurate representation of the sound during mixing. Brands like Yamaha and KRK are known for producing high-quality monitors that will assist you in evaluating your choir performance recordings.
Techniques for Capturing a Rich and Balanced Sound
1. Microphone Placement Strategies
Microphone placement is one of the most important factors when recording choir performances. Here are some key tips to help you get the best possible sound:
- Distance: A good starting point is placing the microphone 3-6 feet from the choir to capture a balanced, natural sound.
- Height: Position the microphones slightly above the singers, around eye level, to capture sound evenly.
- Spacing: If you’re using multiple microphones, make sure to space them according to the 3:1 rule (microphones should be three times farther apart than their distance from the sound source).

2. Recording Close for Soloists
If your recording includes solo performances, it’s best to use individual microphones for these sections. By doing this, you’ll gain more control over the sound during post-production, allowing you to highlight or adjust the soloist’s voice without affecting the rest of the choir.
3. Room Ambiance | Adding Depth to Your Sound
In addition to the main microphones, consider placing an extra microphone further away to capture the room’s natural ambiance. This will add depth to your recording, giving the choir performance a more natural, spacious feel. Make sure the microphone is positioned to pick up the best balance of both the voices and the room acoustics.

Optimizing the Performance | Techniques for Singers and Conductors
1. Warm-Ups and Vocal Exercises
To achieve a polished choir recording, begin with vocal warm-ups that focus on breath control, pitch accuracy, and vocal agility. Well-prepared singers will perform with greater precision and consistency, resulting in a cleaner recording. Additionally, these exercises help maintain vocal health, enhancing the overall performance.
2. Conducting Cues and Visual Coordination
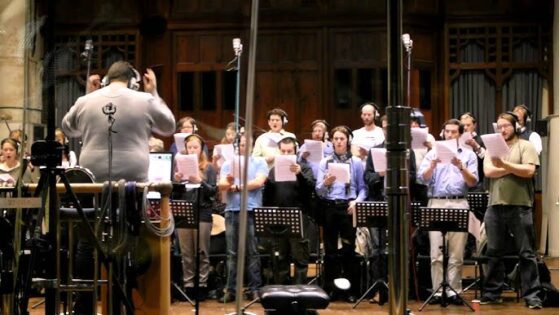
A conductor is essential for keeping the choir in sync. Ensure all singers can clearly see the conductor, especially in a home recording setup. Visual cues will help maintain timing and coordination, ensuring that each section stays together, particularly when using multiple microphones.
3. Pacing and Rehearsing for Recordings
To capture the best performance, record multiple takes of each section. Choir recordings often require several attempts to perfect the sound. After each take, provide feedback to the singers, allowing for short breaks to keep voices fresh. Hydration is key to maintaining vocal strength throughout the session.
The Recording Session | Tips for Smooth Execution
1. Sound Checks and Test Runs
Before starting the recording, it’s vital to conduct a sound check. First, ensure the microphones are positioned correctly and levels are set properly. Then, have the singers perform a few lines at different dynamic levels. This allows you to fine-tune the gain settings on the audio interface or mixer, preventing distortion or imbalance. By doing so, you avoid any surprises during the actual recording, making the process smoother.
2. Layering Techniques for Fullness
For a richer sound, consider recording multiple takes of the same section and layering them in post-production. This technique simulates a larger choir and adds depth to the final mix. However, be mindful of balance—while layers enhance fullness, too many can create muddiness. Experiment with the number of layers that best suit the sound you’re aiming for.
3. Reducing Noise and Unwanted Sounds
To maintain clarity, ensure all non-essential electronics are turned off or silenced to prevent interference. Additionally, use noise gates carefully during recording to filter out subtle hums or environmental sounds. While this helps maintain a clean recording, avoid overuse, as it could affect the natural quality of the choir’s voices.
Post-Production | Turning Raw Audio into a Polished Performance
1. Editing and Cleaning Up the Audio
Once you’ve captured your choir performance, the next step is to edit the audio. Begin by cutting out unwanted noise and adjusting the timing of individual tracks. You may need to align the tracks if the choir members recorded separately. This is especially true for remote recordings where each singer might be recording at a different time.
2. Mixing | Achieving a Balanced Sound
Mixing is where your choir performance really comes to life. Here’s how to ensure that every voice is heard clearly:
- Balance the Levels: Start by adjusting the volume levels of each section to ensure that no part overpowers the others.
- Equalization (EQ): Apply EQ to enhance the clarity of the voices. Boost frequencies around 2-4 kHz to emphasize vocal presence while cutting any muddy frequencies around 300 Hz.
- Reverb: Add a touch of reverb to give the recording a sense of space, but be careful not to overdo it, as too much reverb can obscure the detail of the performance.
3. Compression | Controlling Dynamics
Light compression helps even out the dynamic range of the choir performance, ensuring that loud parts don’t peak and quieter sections remain audible. Use a gentle ratio (e.g., 2:1 or 3:1) for a natural sound, keeping the choir’s energy intact while maintaining clarity.
4. Mastering | The Final Touch
Once mixing is complete, the next step is mastering. This final stage ensures that your recording is polished and ready for distribution. Mastering involves adjusting overall levels, adding subtle EQ adjustments, and ensuring the recording sounds cohesive across various playback devices.
Special Considerations for Remote Choir Performances
1. Coordinating Remote Choir Recordings
When singers are recording from different locations, the process becomes more complex. You will need to coordinate the timing of each performance to ensure that all parts line up. Provide singers with a guide track that includes a click track or backing music, so they stay in time with the rest of the choir.
2. Syncing Remote Tracks
Syncing the individual audio tracks is crucial in remote choir performances. Start by having singers record their parts while listening to the guide track to maintain uniformity. Once all tracks are in, align them in your DAW to ensure everything fits together seamlessly.

Common Pitfalls to Avoid
1. Over-Processing the Audio
One of the biggest mistakes when recording choir performances is over-processing the audio. While editing and mixing tools like EQ, reverb, and compression can enhance the sound, overusing them can lead to a hollow or artificial sound. Always aim for subtlety to preserve the natural richness of the choir’s voices.
2. Ignoring Phase Issues
Phase cancellation can occur when microphones capture the same sound at slightly different times. This results in a thin or hollow sound. Always check for phase alignment when using multiple microphones, and make adjustments as needed to ensure clarity.
3. Overlooking Room Noise
Even minor background noise can become pronounced during mixing and mastering. Ensure that your recording environment is as quiet as possible and use noise reduction tools during editing if necessary.
Conclusion | Creating Magic from Home
Recording choir performances at home may seem daunting, but with the right preparation, equipment, and techniques, you can achieve stunning results. From setting up your space and selecting the right microphones to optimizing recordings through mixing and post-production, each step is crucial in capturing the full essence of the choir’s sound. By following these guidelines, you’ll produce choir recordings that rival professional studio quality—all from the comfort of your home.
Ready to showcase your talent? Join our Christmas Choir Competition and share your choir’s beautiful performance! Whether recording at home or in a studio, we’d love to hear your music.


